
Product Support Menu


Connect Video Support Guides
Below you will find pairing and instructional videos to help you get the most out of your Connect.
Using Digital Optical
Below you will find pairing and instructional videos to help you get the most out of your Connect.

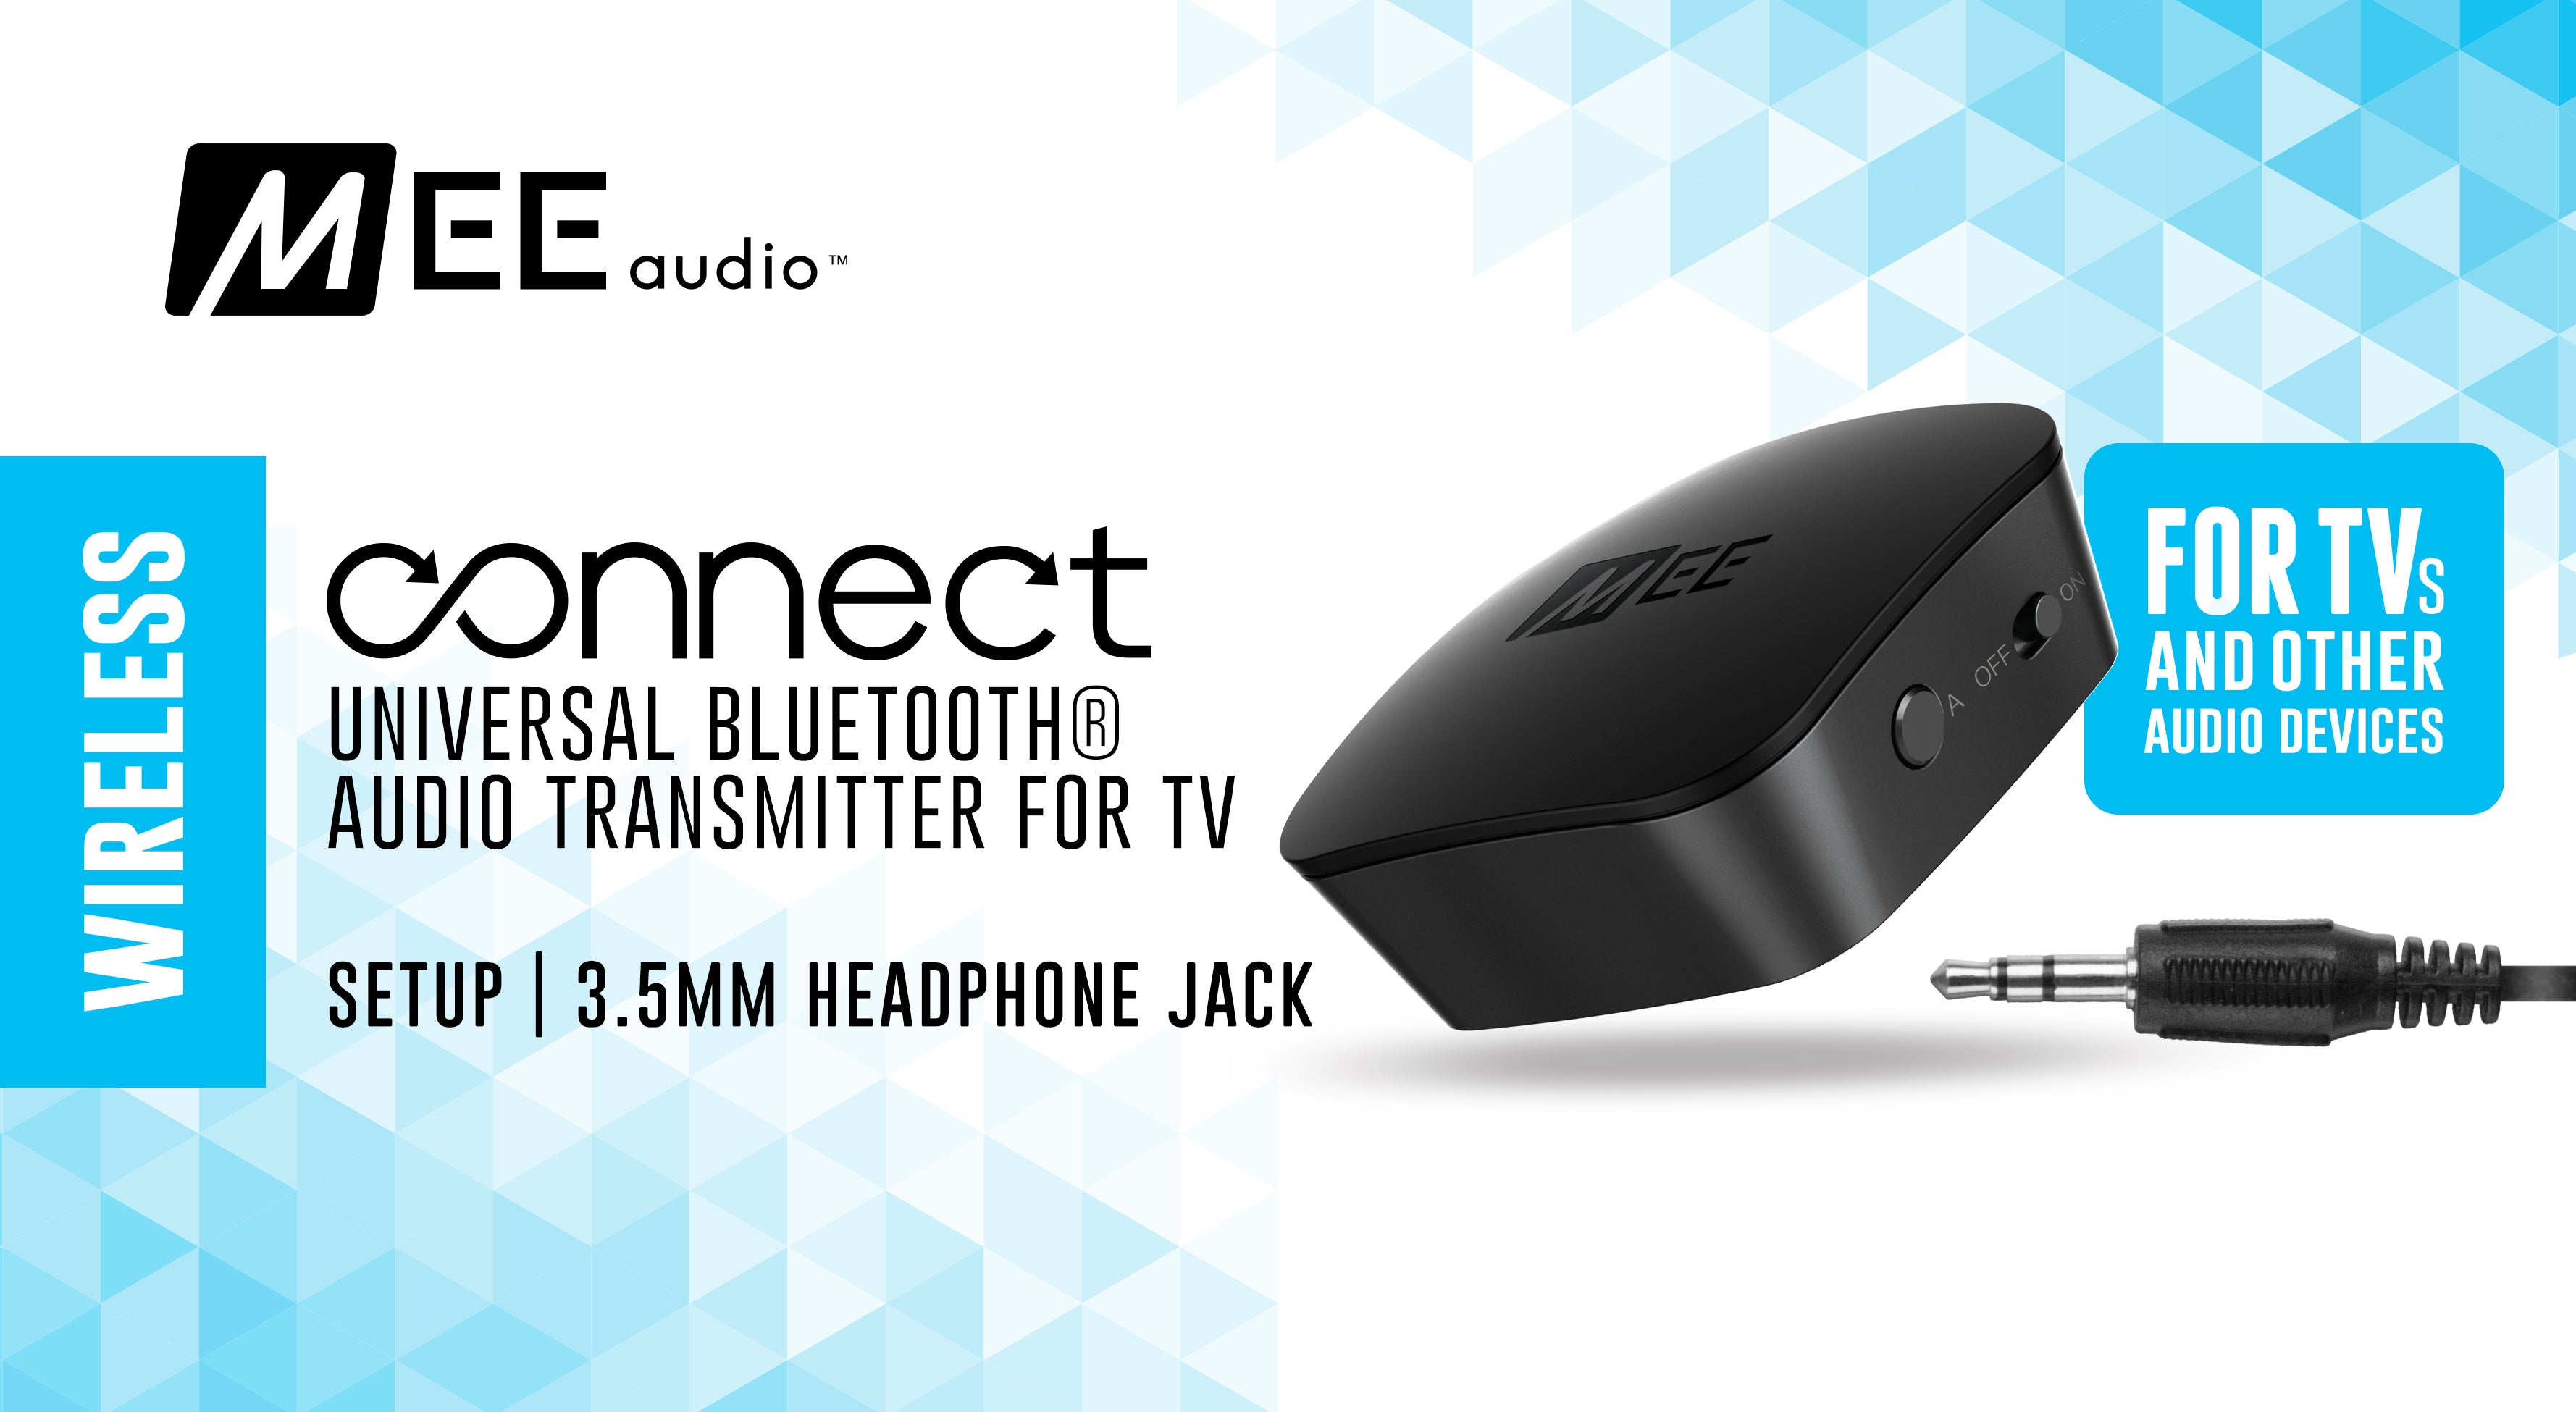
Using Headphone Jack
Below you will find pairing and instructional videos to help you get the most out of your Connect.
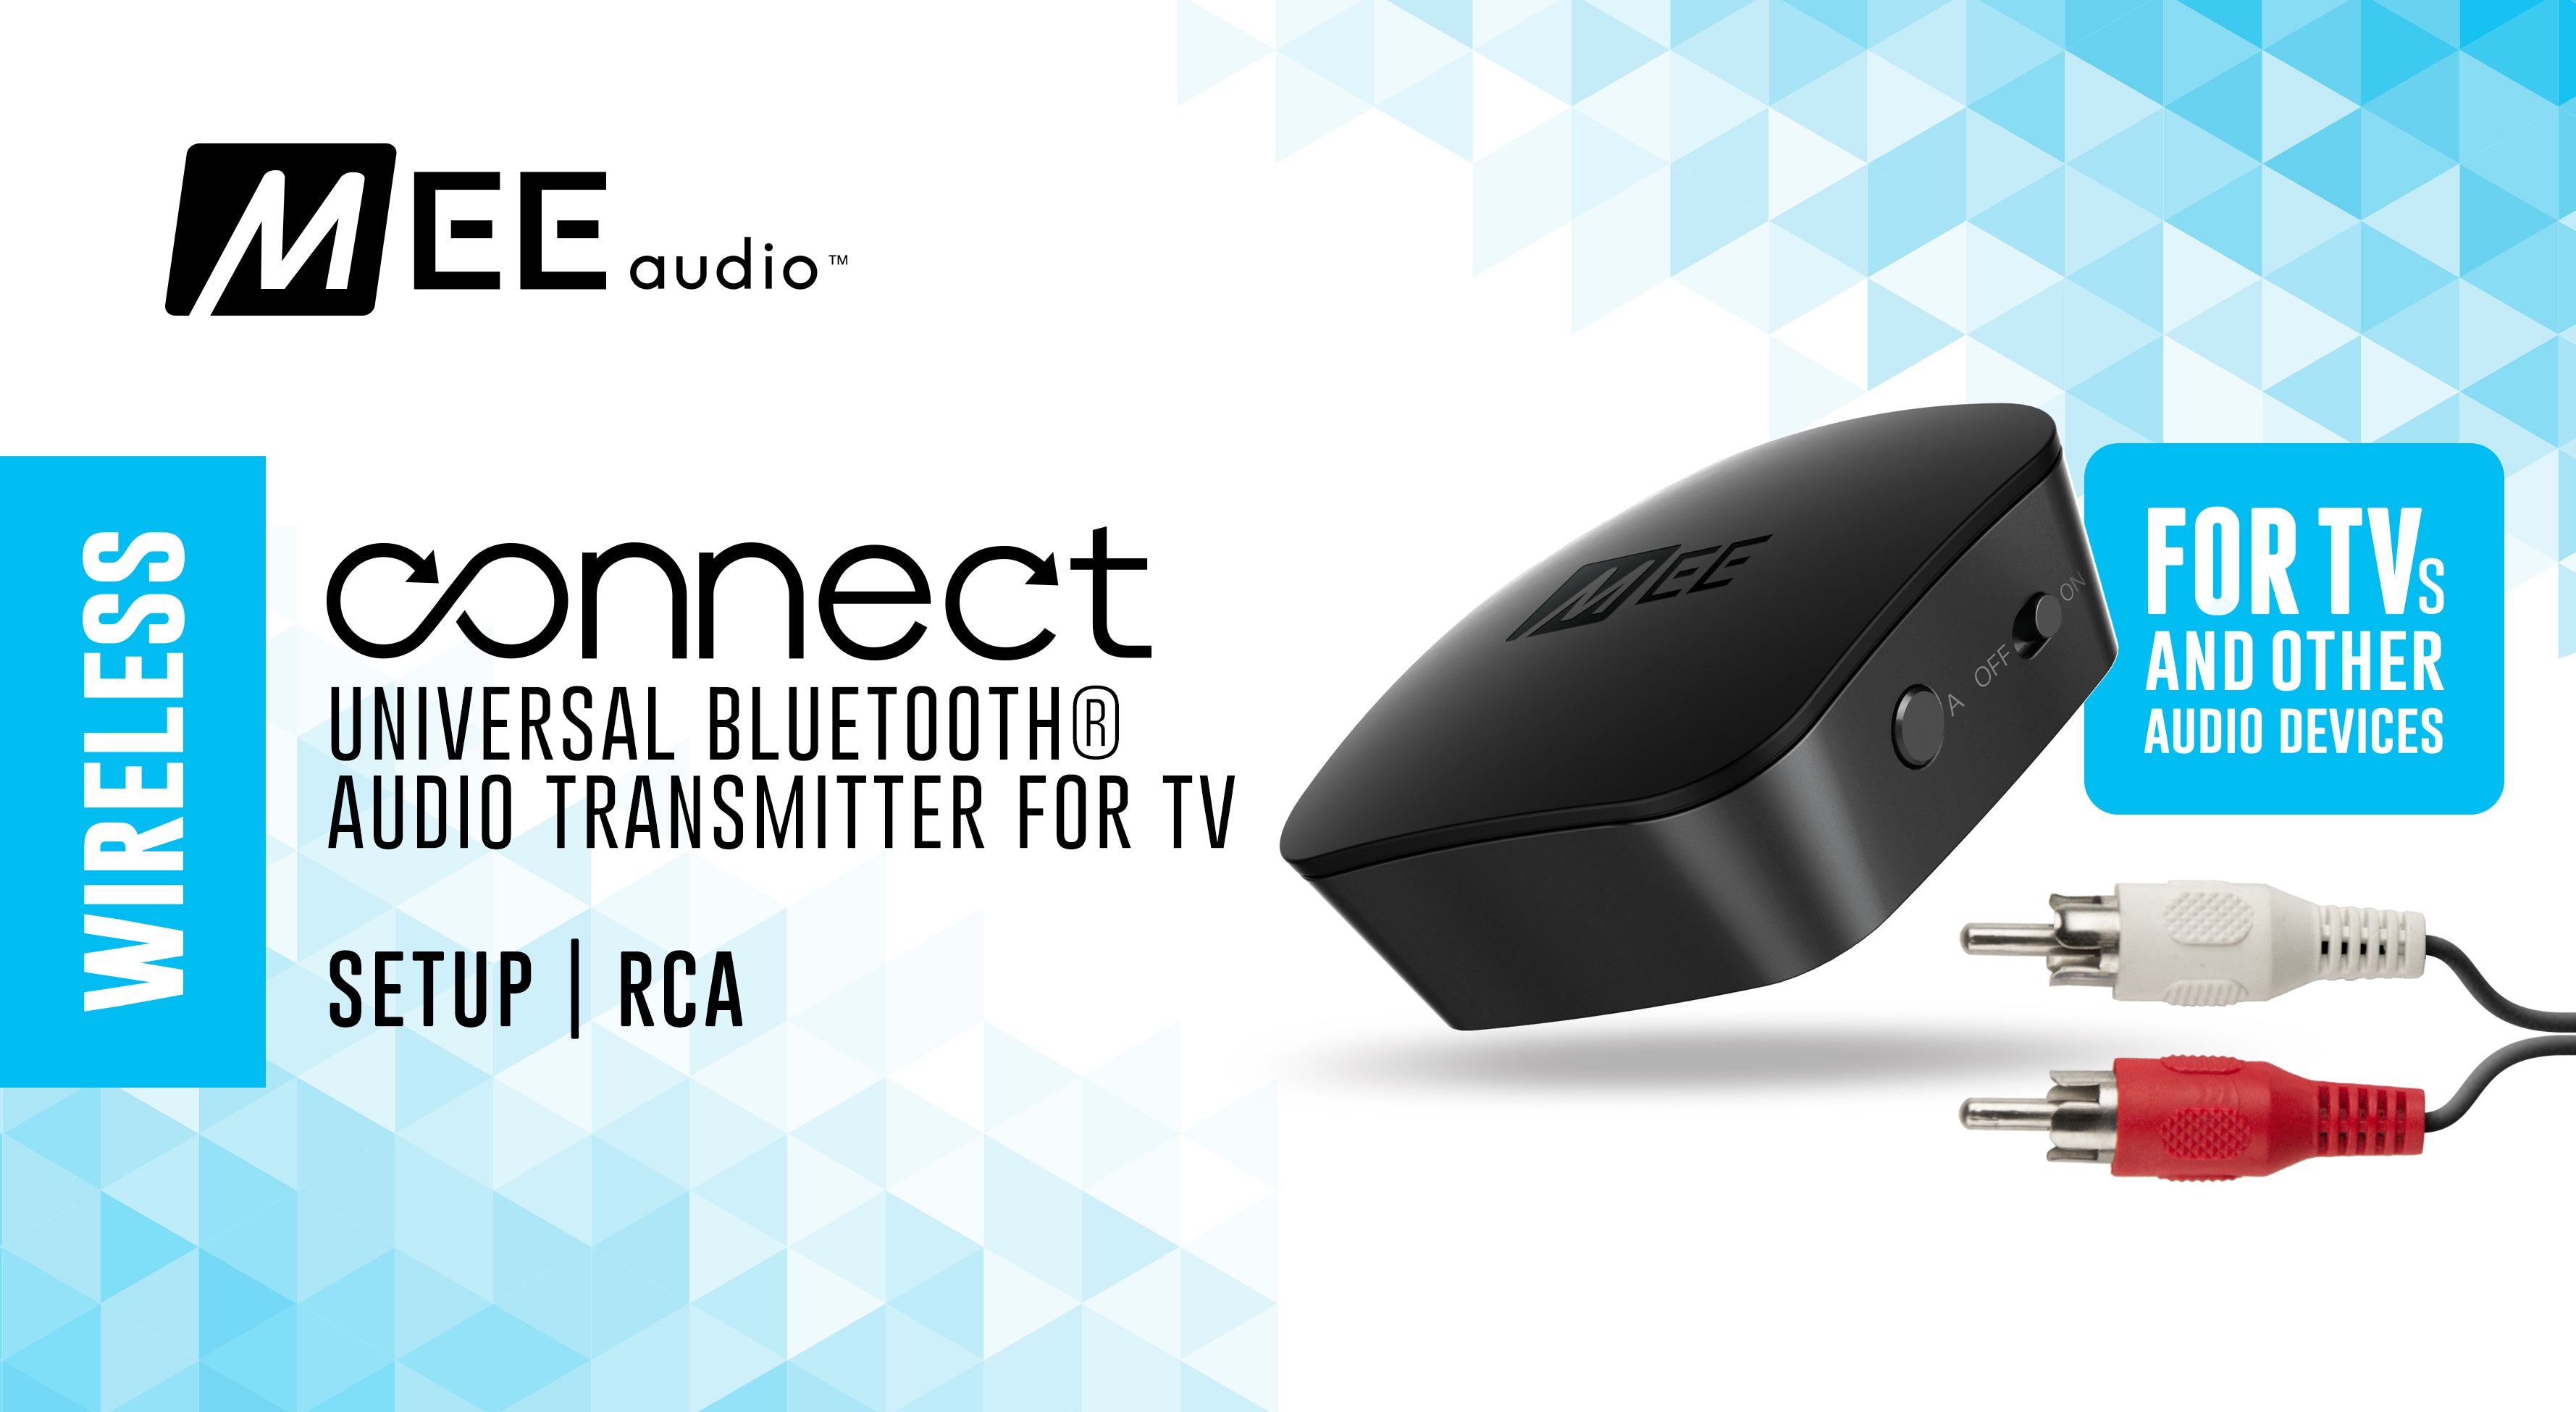
Using RCA
Below you will find pairing and instructional videos to help you get the most out of your Connect.
Connect Product Manuals
For detailed information on troubleshooting, maintenance, and more; please refer to the online Connect user manual.
Choose your version below to view the manual in pdf format. To save it to your computer, right click the link and select "Save Link As...".
Connect T1 / T1B
Bundles with the Connect transmitter
Connect T1CMA3D
Connect T1CMA
Connect Support General Questions
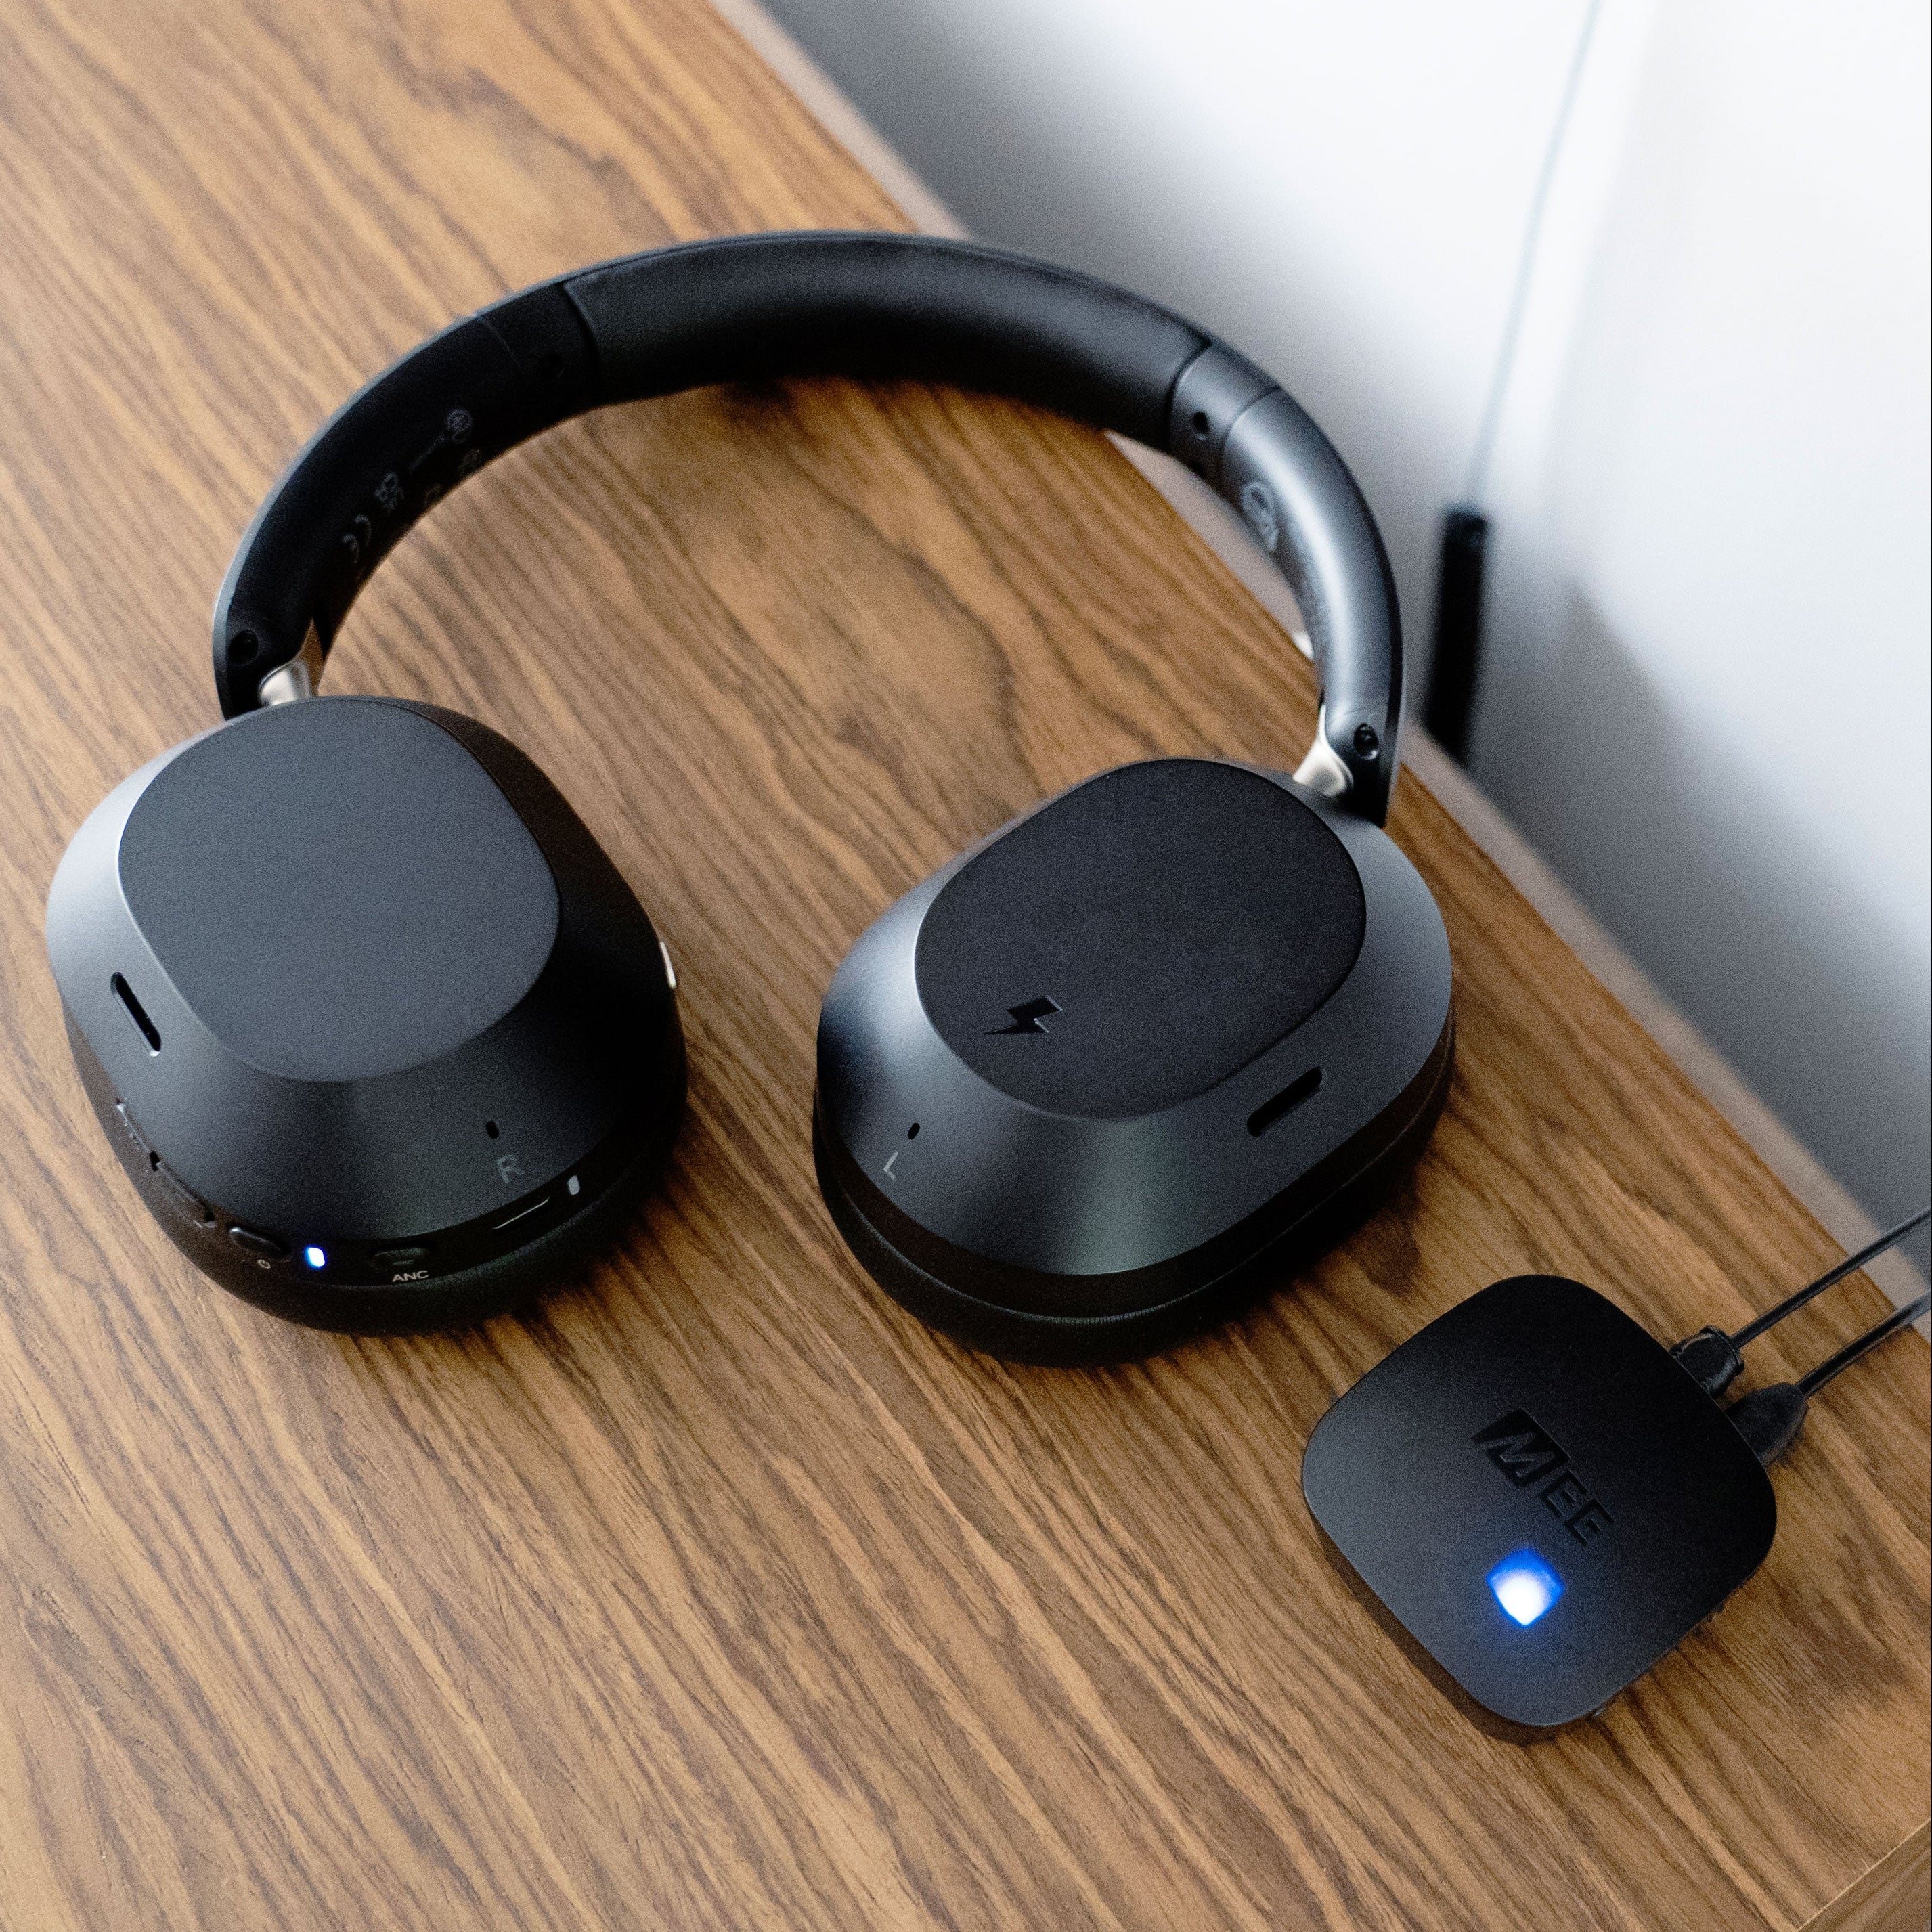
Using the Connect with a headphone that supports aptX will reduce audio lag, and using it with a headphone that supports aptX Low Latency (highly recommended) will lower the lag to where it is not noticeable. The MEE audio Matrix Cinema headphones provide the best low latency audio experience with MEE audio transmitters. You can also find a list of other aptX Low Latency-capable headphones.
In order to stream your music from your phone to a non-Bluetooth speaker, soundbar, or other audio device, a Bluetooth Receiver such as the Connect Hub model is needed.
- The Connect and Connect Hub have a digital optical audio input, which the Connect Air does not have. Newer TVs are more likely to only support optical audio.
- The Connect and Connect Hub do not power off as long as they are plugged in, which means you can leave them connected to your TV and simply turn on your headphones whenever you want to use them
- The Connect and Connect Hub have much longer cables, which are significantly more convenient for connecting TVs
Note: Many TVs' USB ports only provide power when the TV is on, so your Connect may discharge even if plugged into a powered off TV.
Note: Some TVs only have a Digital Audio Out coaxial connection, which will require a separate coaxial to optical adapter to work with the Connect transmitter.
Note: If you are using the optical connection method from your TV and need to change audio settings in order to get the Connect to work (most commonly setting the "optical audio output format" setting to "PCM" or "stereo" for the optical connection), you will need to do so WHILE Netflix (or other video app) is open and playing video. You may have to repeat this for each streaming app if you plan to use several.
3.5mm headphone jack: If using your TV's headphone jack, you will be able to adjust the volume using your TV's remote.
Optical: If you are using your TV's digital optical audio output (also known as a TOSLINK or Optical S/PDIF connection), then the volume will be fixed and cannot be controlled via the remote. Use the volume controls on your Bluetooth headphones or speakers to adjust the volume.
RCA: If you are using the red/white RCA "audio out" connectors, then it varies depending on TV make/model. Some TVs will have a setting in the audio menu that will allow you to change between "fixed" and "variable" audio output, with the variable setting allowing the TV remote to adjust the volume.
Optical: If your TV has a digital optical audio output (also known as a TOSLINK or Optical S/PDIF connection), then yes, you will be able to use this device with Bluetooth headphones AND hear the TV's built-in speakers simultaneously, so others can still listen to the TV without headphones.
RCA: If your TV has red/white RCA "audio out" connectors, then it varies depending on TV make/model. Some TVs will have a setting in the audio menu that will allow you to enable the TV speakers while also using the RCA audio output.
3.5mm headphone jack: If your TV only has a headphone jack, then your TV will likely mute the built-in speakers when you plug this device in, which means others won't be able to listen.
- Pair your headphones with transmitter "X"
- Turn off transmitter "X" and pair your headphones with transmitter "Y"
- Turn off transmitter "Y" and headphones
- If you want to use the TV with transmitter "X", turn on only transmitter "X", then turn on your headphones
- To switch, turn off transmitter "X" and turn on transmitter "Y", then turn the headphones off and back on to ensure they reconnect to the correct transmitter
There is a lot of variation between different brands of hearing aids and even different models from the same brand, so we always recommend contacting the manufacturer of your hearing aids with the exact model number of the hearing aids you are using and asking the following two questions:
- Whether the specific model of hearing aids you are using supports stereo audio over Bluetooth (the A2DP Bluetooth profile)
- Whether the specific model of hearing aids you are using can be put into Bluetooth pairing mode without the use of an app, and what the process is for putting it into pairing mode.
Second, not all hearing aids are compatible with Bluetooth devices. The ability to pair the hearing aid to standard Bluetooth devices such as this transmitter depends on the specific way in which the hearing aid connects to Bluetooth.
If possible, we would instead recommend using a headphone that can be worn over your hearing aid, or a Bluetooth speaker placed near you. This will both simplify the process of connecting to your TV and also ensure you are not getting audio that is out of sync between your left and right ears.
Put the Google Home in pairing mode by saying "Ok Google, pairing mode". You can also do this by navigating to Menu -> Devices -> (Google Home device) -> Settings -> Paired Bluetooth Devices -> Enable Pairing Mode in the Google Home app. Once the Google Home is in pairing mode, tap the A or B button on the Connect to pair.
Note: the Google Home does not reconnect automatically to paired Bluetooth devices, so this process would have to be repeated whenever it is disconnected from the Connect or the Connect is powered off.
Even on the lower end of that, this can be too much latency for professional use. For this reason, we normally do not recommend using Bluetooth in live applications.
Troubleshooting
The majority of issues on the Connect can be resolved by a full reset. To perform a full reset, press and hold the button marked "A" located on the right side of the unit until the blue light stops flashing, which takes approximately 6 seconds. Previously paired devices will be cleared from memory and you will have to re-pair any devices you wish to use with the Connect.
For answers to other frequently asked questions, please see below:
Note: if you are using your TV's headphone jack as the connection method for your Connect transmitter, the TV remote can be used for further volume adjustment.
When entering pairing mode, quickly tap the corresponding pairing button "A" or "B". Do not press and hold these buttons.
Put the Bluetooth device you are pairing with the Connect into pairing mode. If you don't know how to do this, consult the user manual of the device. Once the device is in pairing mode, tap one of the buttons on the side of the Connect to put the Connect into pairing mode. Tap button "A" when pairing one headphone with the Connect and "B" when pairing a second headphone.
Make sure the headphones and Connect are in pairing mode at the same time and with 1 meter (3 feet) of each other.
Interference may occur with some TVs during the pairing process. If the blinking blue light shuts off before it can pair, turn off all Bluetooth-capable devices (phones, TVs, set-top boxes, and other previously paired devices) and then try the pairing process again.
If you are still unable to pair, turn the Connect off, wait 5 seconds, and turn it back on. Perform a full reset of the Connect and start the pairing process over again.
Once the pairing process completes, a solid light on the top of the Connect will indicate that one headphone is connected. Two solid lights indicate that two are connected.
Resolution: Ensure that there is an audio cable connected to only ONE of the audio inputs on the Connect - either the analog (3.5mm) input or the digital (TOSLINK) input. Plugging in only the USB charging cable is not enough.
Ensure that the audio cable is firmly seated in the Connect transmitter, and that the other end of the audio cable is firmly seated in the audio output jack of the TV.
Ensure that audio is playing on the TV/device and try raising the volume on your Bluetooth headphones.
If audio is not heard, try the troubleshooting steps below specific to the connection method you selected for your TV.
Additional troubleshooting steps for each connection method:

If using an optical S/PDIF connection
Check that nothing is connected to the 3.5mm (analog) audio input of the Connect.
Make sure the plastic protector caps are removed from both ends of the optical cable you are using.
Check that the optical connector you are using on your TV is designated as an audio output.
Make sure that the audio output setting for the optical audio output on your TV is set to "STEREO" or "PCM". This setting is usually found in the TV's audio menu, or in the "Expert" or Advanced Settings" submenu. If your audio output is set to "Dolby", "5.1", "Surround Sound", or similar, it will not work.
If you are using a video streaming app such as Netflix or Apple TV, you will need to do so WHILE Netflix (or other video app) is open and playing video. You may have to repeat this for each streaming app if you plan to use several. If you are using a cable/set top box or DVR, and have your Connect transmitter plugged into its audio output, you should also select "STEREO" or "PCM" in the audio output settings menu(s) of the DVR or set top box*.
*Settings for separate streaming devices may need to be accessed with a different remote.

If using an RCA connection
Make sure the RCA connector you are using on your TV is designated as an audio output.
Check that all connections are secure between the Connect and the stereo cable, RCA adapter, and TV.
Some older TVs do not automatically output sound via RCA for certain inputs. To enable RCA audio output, locate the audio output setting on your TV with the options "FIXED" and "VARIABLE", sometimes labeled "SET MONITOR OUT", and change this setting to "VARIABLE". If you still don't hear any sound, look for a setting that controls the TV's internal speakers and set it to "OFF".
If using a headphone jack (3.5mm) connection
Adjust the volume on both the TV and your headphones. If TV volume cannot be adjusted while the Connect is plugged in, unplug the Connect from the headphone jack and adjust the volume, then plug the Connect back in.
- Make sure the "digital audio output format" setting in the TV's audio/sound menu is set to "stereo" or "PCM".
- Make sure the "digital audio output format" setting in the audio/sound menu of the Roku or other external streaming device is set to "stereo" or "PCM".
- If your TV has an analog audio output (RCA Audio Out or 3.5mm headphone jack), you can use this port instead of the optical audio output to bypass digital audio settings.
Resolution: Bluetooth is a digital wireless signal and there is some latency expected due to the coding/decoding and compression/decompression steps that must occur. In addition to regular Bluetooth audio (SBC), the Connect also supports the aptX and aptX Low Latency audio codecs, which are notable for having lower latency (smaller audio delay) compared to regular Bluetooth audio. Using the Connect with a headphone that supports aptX or aptX Low Latency will minimize audio lag.
Some modern TVs and receivers also have an audio delay option in their settings menu, which should be set to 0 to minimize lag.

Note: There is no need to turn off the Connect after each use if it is always plugged in to USB power.
If the headphones do not reconnect automatically, make sure that they are not connected to another Bluetooth device such as your phone. Make sure that the Connect has not been reset since the headphones were last paired and does not already have two other headphones or Bluetooth devices connected to it (at most one solid blue light should be on).
If you are still unable to pair, turn the Connect off, wait 5 seconds, and turn it back on. Perform a full reset and create a new pairing with your headphones.
Note: The Connect can remember up to 8 Bluetooth devices. A 9th device will pair, but will not have the ability to reconnect. To correct this, perform a full reset and repeat the pairing process for the device you wish to pair.
You can check the Bluetooth connection by making sure that a solid blue light appears on the top of your Connect transmitter when your headphones are powered on. If a solid blue light does not appear, you will need to pair your headphones with the transmitter again.
If a blue light does appear on the Connect when you turn on your headphones, and the optical cable is still plugged in firmly, then please make sure that the audio output format setting for the optical audio output on your TV is set to "STEREO" or "PCM" – see the "ADDITIONAL TROUBLESHOOTING STEPS - If using an optical S/PDIF connection" section above for more details.
On some TVs the volume is fixed for each output. Try a different connection method.
If your Connect is plugged into the TV's the 3.5mm (headphone) jack and TV volume cannot be adjusted while the headphone jack has something connected to it, unplug the Connect from the headphone jack and adjust the volume, then plug the Connect back in.
Use the optical S/PDIF (digital audio out) if you need to use the TV speakers and Connect simultaneously. The RCA connection can also be used except in some TVs that require the internal speakers to be turned off via the settings menu in order to enable RCA audio output. In both optical S/PDIF and RCA modes, the volume level of the Connect is fixed and cannot be controlled via the TV remote.
If using the optical S/PDIF (digital audio out) and you are hearing sound through the headphones but not through the TV speakers, change the sound output in the TV menu settings to "optical + tv speakers" or "tv speakers"
For the most noise-free audio, maximize the volume on your TV or other device and adjust volume via the headphones.